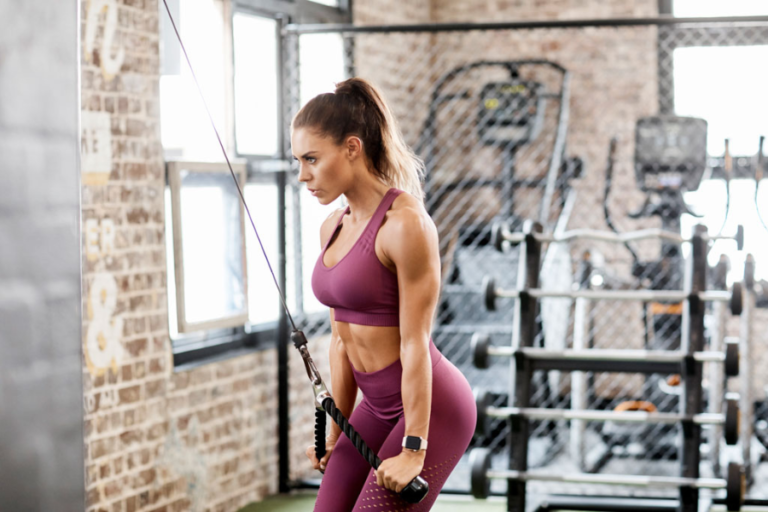
Resistance band glute workouts are one of the most effective ways to strengthen and shape your lower body without needing bulky gym equipment. Whether you are new to glute workouts or looking to advance your routine, using resistance bands can boost your results by keeping your muscles under constant tension. Below you will find practical steps, exercise ideas, and helpful tips to get the most out of your routine.
Understand the benefits of resistance bands
Resistance bands deliver consistent tension throughout each movement, which helps target every angle of your glutes. They also take up very little space and travel well, making it easy to keep up with your routine wherever you are. Plus, you have the freedom to choose from light, medium, or heavy bands to match your current fitness level.
- Portable and easy to store
- Great for targeting smaller stabilizing muscles
- Adjustable resistance levels for progressive improvements
Warm up your glutes
Before diving into banded exercises, prepare your muscles with a quick warm-up. This helps activate your lower body so your movements become more efficient.
- Light cardio: Spend two to three minutes walking or doing gentle jumps to increase blood flow.
- Dynamic stretches: Perform leg swings, hip circles, or a few bodyweight squats.
- Band activation: Place a light band just above your knees, then do 10–12 lateral steps on each side.
Perform targeted exercises
When you are ready to begin, select movements that engage your glutes from multiple angles. Go slow, focus on form, and use a band tension that is challenging but allows you to keep proper technique.
Banded glute bridge
- Lie on your back, knees bent, feet on the floor
- Place the band above your knees or around your thighs
- Press through your heels to lift your hips until your knees, hips, and shoulders form a straight line
- Squeeze your glutes at the top, lower down, and repeat
Lateral band walk
- Stand with feet hip-width apart, band secured above the knees
- Bend knees slightly and step to the side, leading with your heel
- Stay low and maintain tension in the band throughout the movement
- Perform 8–10 steps to each side
Donkey kicks
- Begin on all fours, with the band around your thighs
- Keep your core tight, then lift and push one foot upward until your thigh is parallel to the floor
- Lower slowly, maintaining tension in your glutes
- Alternate and repeat for 10–12 reps per side
Adjust the intensity
Progressing your resistance band glute workout is key to continued muscle development. Start with a lighter band if you are a beginner, then move to heavier bands as you grow stronger. You can also modify your exercises by:
- Increasing your range of motion
- Slowing down the tempo of each rep
- Adding a small pause at the peak of the movement
If you experience pain or discomfort beyond normal muscle fatigue, take a break and check your form before continuing.
Cool down to recover
Once you have finished your workout, help your body recover with a quick cool-down. Lowering your heart rate and releasing tension in your muscles can reduce soreness.
- Gentle stretches: Focus on your hips, hamstrings, and quads
- Light foam rolling: Roll out tight spots in your glutes or lower back
- Hydration: Replenish fluids to aid muscle repair
Key takeaways
- Resistance bands offer portable, consistent tension that boosts glute strength
- Warm up before starting banded exercises for better muscle activation
- Choose movements that engage each part of your glutes at various angles
- Progress your workout over time by using heavier bands or slower reps
- Always cool down after exercising to promote recovery
Give these simple tips a try the next time you incorporate a resistance band glute workout into your routine. By starting with solid form, choosing the right band, and gradually increasing intensity, you will maintain steady progress toward the stronger, more sculpted glutes you are aiming for.